Those on a paleo diet, as well as those on vegan diets, and even those who are lactose intolerant, can benefit from a type of ice cream known as ‘nice cream’. This is a nutrient-dense alternative to normal ice cream.
When this form of ice cream is made correctly it is creamy, thick, and just as refreshing as normal ice cream, however, all it needs is frozen bananas!
And even if you do not like bananas, there are other options too!
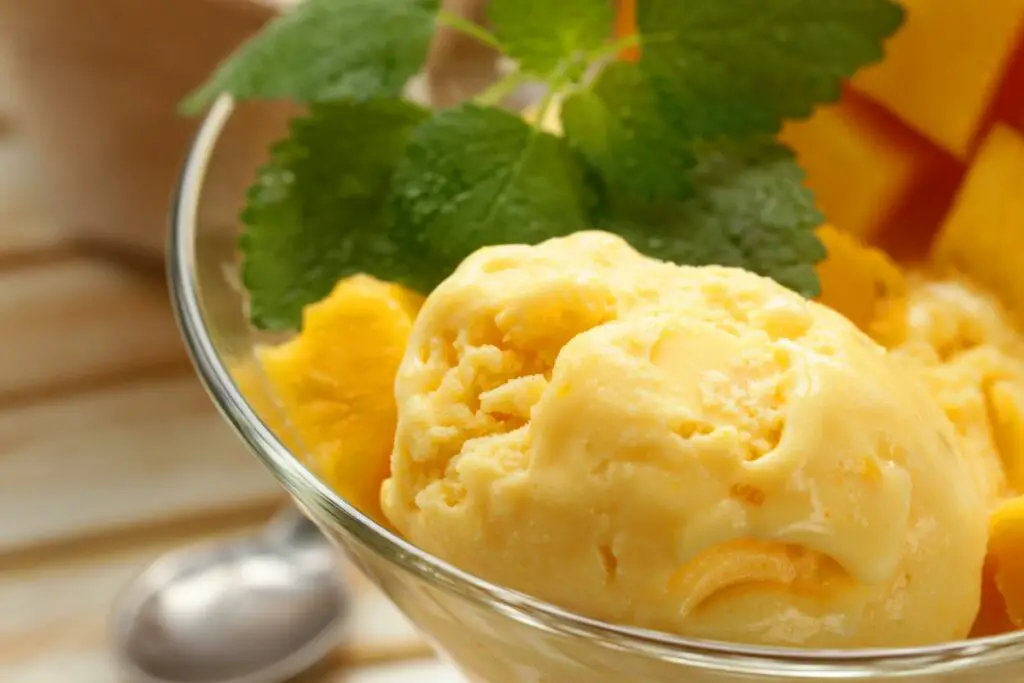
It might seem super simple, but you really can make a delicious, dairy-free, totally vegan, totally paleo-friendly ice cream with mango and banana! Read on to find out how!
What Is Nice Cream?
So, what is nice cream? Well, it is a plant-based, and dairy-free alternative to normal ice cream. It is popularly made with frozen bananas which are mashed together using a blender or food processor until they create a texture similar to that of traditional ice cream.
You could also use strawberries, papaya, frozen coconut milk, or mango to make this!
So, what’s with the name? Well, it is called this as it is believed to be ethically nicer, and also nicer to your health than normal ice cream is!
How Do You Make Nice Cream?
Making nice cream is super simple. You just start with bananas (or mango), ensuring they are ripe, with brown spots on them.
They should always be this ripe as they will have a natural sweetness to them so that you do not need to add any sweeteners!
Ripe fruit will also be softer and make things easier for your blender! Choose around 6 bananas (or 4 mangoes) as it will give the volume you want to get that swirl that is iconic to ice cream. This can also make 2 to 4 servings.
You should freeze the peeled bananas whole, do not leave the peel on, or slice them before blending as it will just make this harder for you when you go to blend them. Freeze the bananas overnight to get the best results.
Just bananas can taste nice, however, it is best to have another ingredient, so we will choose mango.
Now, this ingredient is there to add flavor, so you needn’t freeze the mango (although you can if you want to), the mango will help to lubricate the blades of your blender.
You chop the banana after freezing, before blending, and add them on top of the mango. Then blend. Slowly start blending more and more, working your way from a slow blend to the fastest setting, and the ice cream should start to fold onto itself.
This ice cream will be more similar in consistency to soft serve ice cream, rather than scoopable, hard ice cream.
If you want it to be hard, you should freeze the mixture for around 2 hours after blending, then leave it at room temperature for 20 minutes.
What You Will Need
Before you get started on any recipe, always ensure you have all the ingredients and tools you need.
Equipment
You want to use chilled coconut cream for this recipe, even though you will only use the hardened top.
It is also beneficial to have an ice cream maker as well, however, this is optional, and you can use a blender, but ice cream makers are better.
You will need a blender. The blender needs to be high-powered and durable.
If you do not have an ice cream maker, ensure you have a freezer-safe container large enough to fit the amount of ice cream you intend to make into it.
Lemon juicer.
Ingredients
Bananas, 4 medium-large.
Mango, 1 large.
Lemon, 1 juiced.
⅛ tsp sea salt.
Coconut cream, canned 15oz, 2+ days refrigerated.
Step-By-Step Instructions
Step 1
Ensure your bananas are all frozen, freeze overnight. You can freeze your mango, but you do not need to.
Step 2
Place 3 of your bananas, as well as 2/3rds of the mango, and the hardened top of your coconut cream (throw out the rest of the liquid), as well as the lemon juice and sea salt into a blender.
Step 3
Blend the mixture until it is very smooth.
Step 4
Pour the mixture into an ice cream maker and set it to churn. If you do not have an ice cream maker, you can simply pour the mixture into a container that is freezer safe and has a lid, then put it in the freezer.
Take it out every 30 minutes until it is creamy.
Step 5
While you are doing this, take the remaining ingredients, and chop them up into chunks. Dice them up nice and small.
Step 6
Once the ice cream has almost reached the consistency you want/ nearly finished churning, pour out the mango and banana chunks into a bowl and allow them to mix in thoroughly.
Step 7
You will know that your nice cream is ready to enjoy when it is thick and creamy, like normal ice cream. The consistency may be more similar to soft serve than scoopable ice cream.
However, if you want scoopable nice cream, then you will probably need to freeze the mixture for a couple of hours before taking it out for 20 minutes.
You can then scoop the nice cream. Ensure that you store it in your freezer and allow it to thaw a bit each time you take it out, so it is ‘scoopable’.
Overall
Nice cream is easy to make, and banana and mango nice cream is probably the best. However, there are plenty of ways to make it, and the recipe we have given you today is one of many.
Play around with it and explore the new world of nice cream!
It’s delicious, creamy, and just plain better than normal ice cream!
Hi, my name is Justin Roberts and I like to live by one major rule in life – health is wealth. And where does all health stem from? The food choices we make.
I grew up in a not-so-wealthy household that often struggled to get food on the table.
The food we did eat was cheap, holding no nutritional value at all. I’m talking frozen foods, carbs, fats, and very little fresh produce.
I am fortunate enough to have made a life for myself where the money for food is no longer an issue, and I have spent the majority of it looking into healthy foods and different diets to try.
The most notable is keto and paleo. I am also interested in only using whole foods wherever possible – call it trauma!
As a professional chef, I now create recipes surrounding these diets every day. My family are my tasters, and I strive to make my recipes as budget-friendly as possible.
I hope that you’ll find some inspiration for healthier meals from my website. I want to create a catalog of recipes that you can come back to time and time again. Enjoy!